How to create a Page Configuration
Defines when a Page Content is displayed. You can name the Page Configuration, add a JQL filter to define which issues may create the page and where the page should be created.
Step-by-step guide
| Step | Procedure | Example |
|---|---|---|
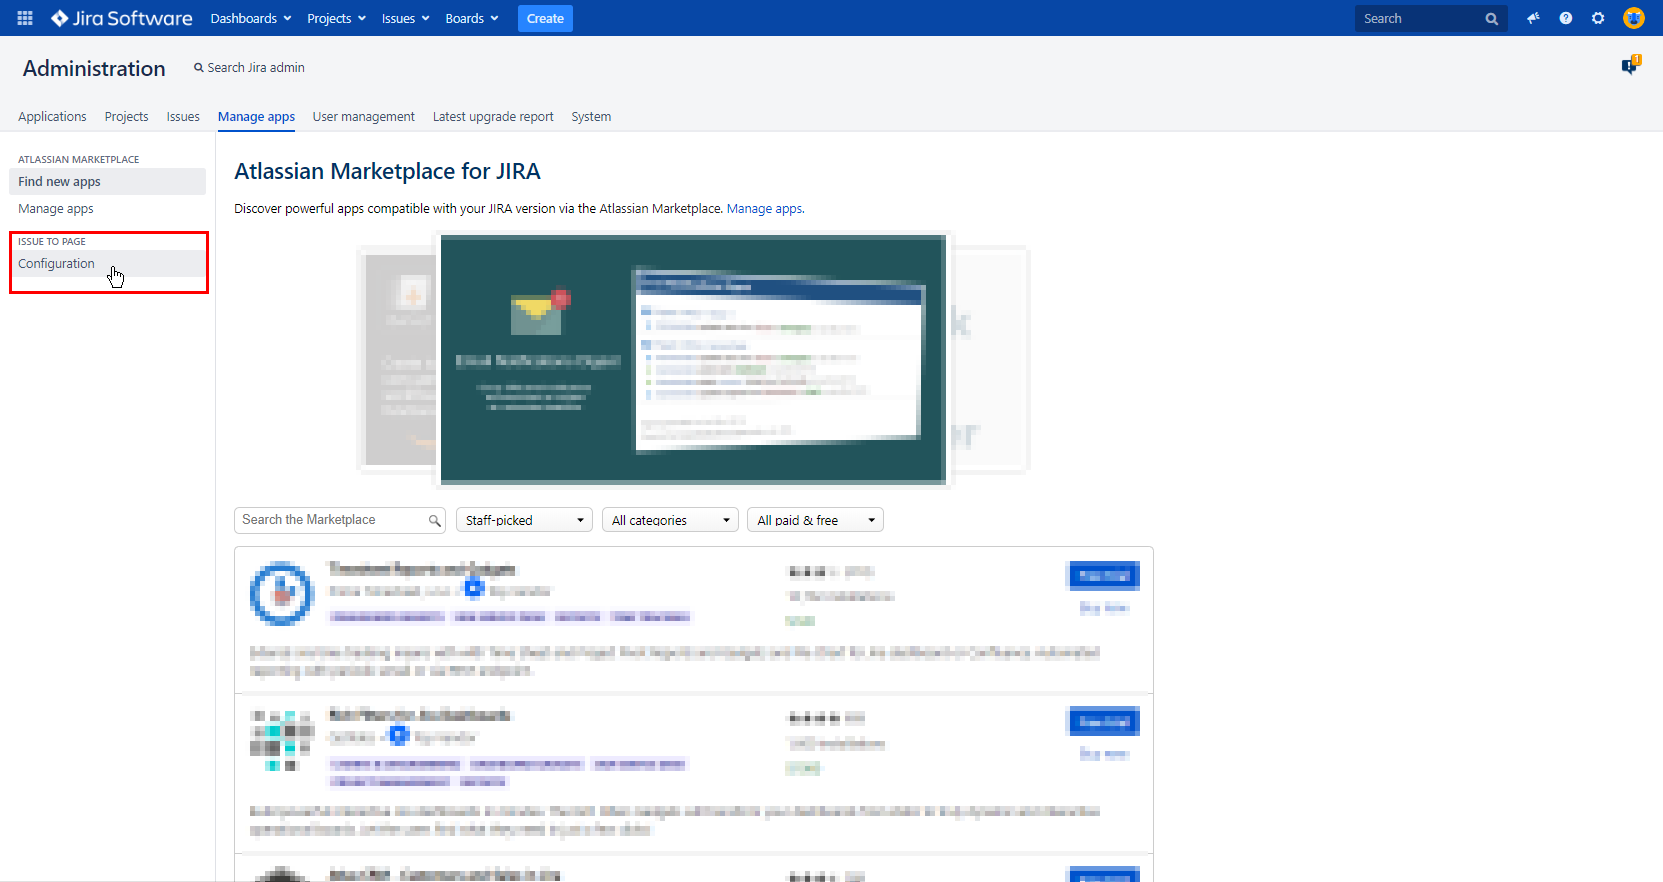
| 1 | Navigate in Jira through the Cog Wheel to Manage Apps → Issue To Page Configuration on the left sidebar |
|
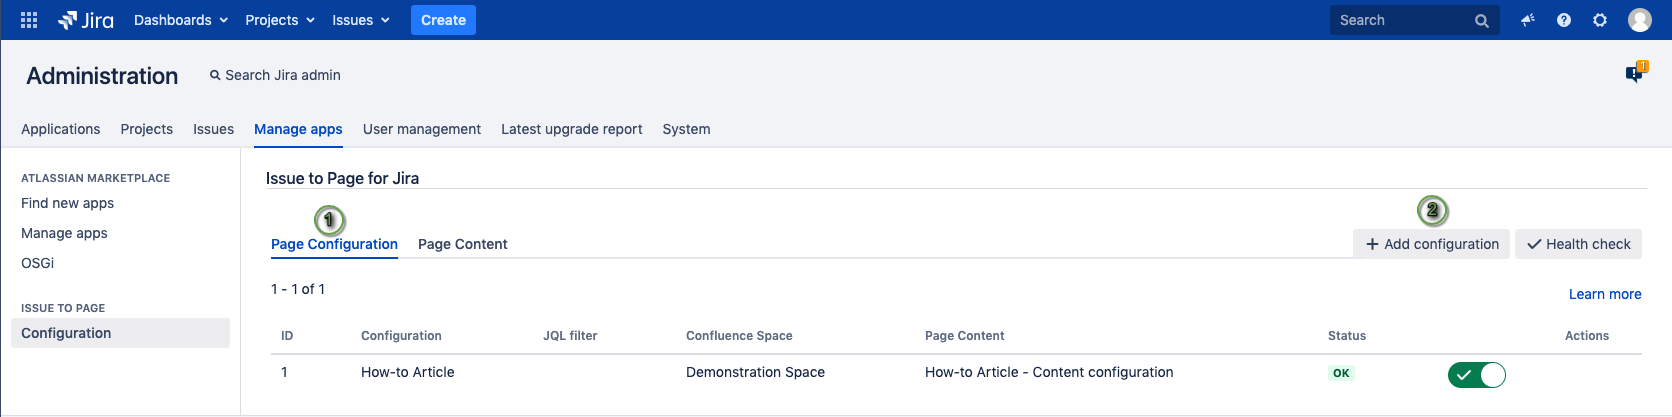
| 2 | Hover the mouse over the Page Configuration Tab and then switch to "Add configuration". |
|
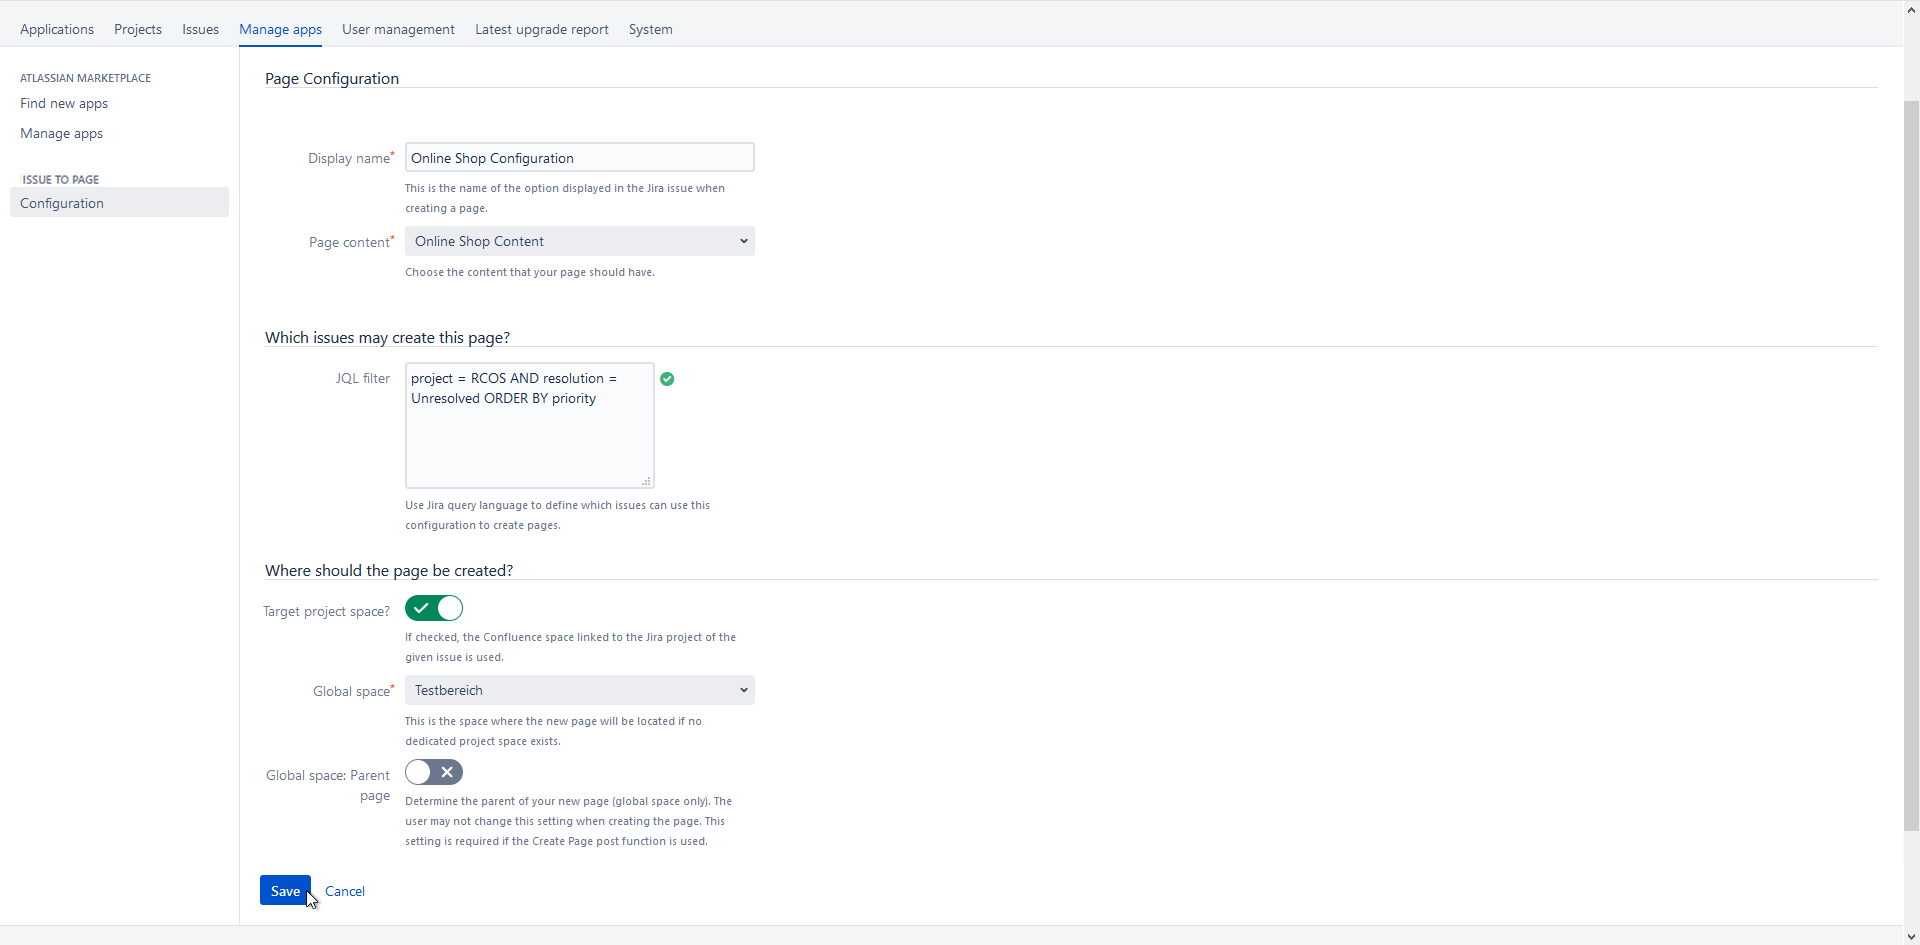
| 3 | Now configure the page→ for further information look below the click instructions After you edited all necessary information, hit Save. Then you will be returned to the Configuration overview Target project space A Project Link between a Jira Project and a Confluence Space must be set if you want to use the Target project space option |
|
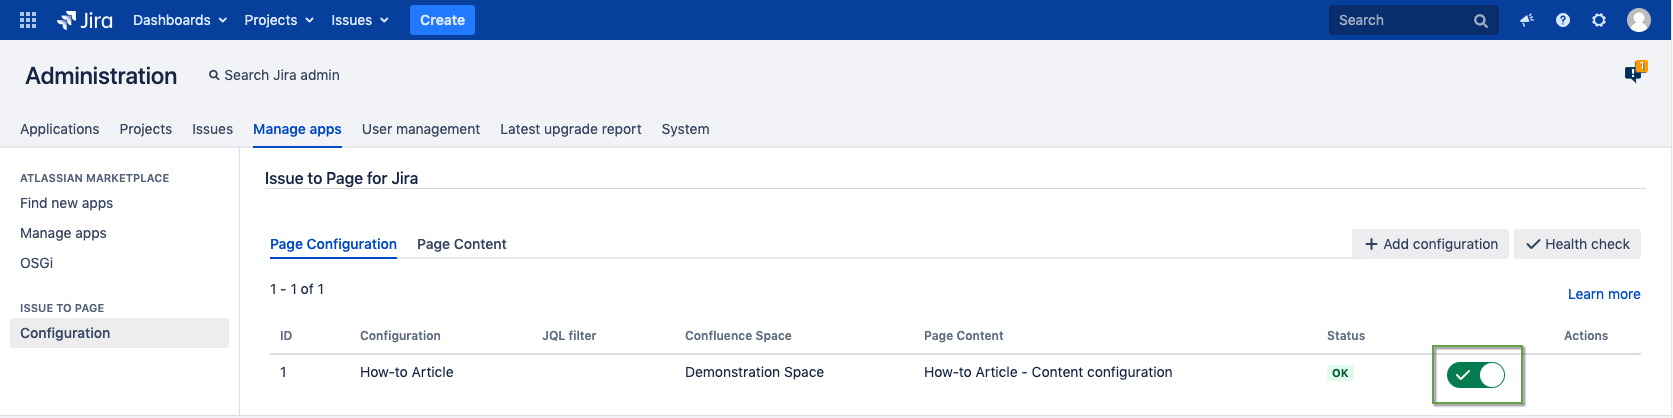
| 4 | Attention Release the new page configuration to your users by setting its status toggle to On. |
|
From version 2.1 on you can copy a selected Page Configuration and save it under a new name to speed up configuration and prevent copy / paste errors.
![]()
Page Configuration
| Field | Description | Example |
|---|---|---|
| Display name | Give your configuration a meaningful name. This will be displayed as an option to the user when they create a page with Issue To Page for Jira. |
|
| Page content | Choose a previously defined content for your page. | |


Which issues may create this page?
| Field | Description | Example |
|---|---|---|
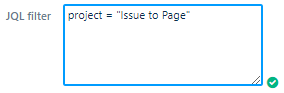
| JQL Filter | Add some Jira Query Language to filter for specific issues that this type of page can be created from. Leave this field blank to globally enable this page option for all Jira issues. Starting version 1.3, a small mark by the lower right corner of the field indicates whether the expression is entered in correct JQL-Syntax. However, this is only a hint and you may still save the form regardless. | In this example, only issues in the project named "My Project" may create Product Requirements pages:
|
Where should the page be created?
| Field | Description | Example |
|---|---|---|
| Target project space | If enabled, pages will be created in the Confluence space that is linked to your Jira project via application link. If you have more than one link, the primary linked space will be chosen. If there is no project space, the configuration will default to the global space selected in the next option. Please refer to this Atlassian guide to learn more about adding project links in Jira. |
|
| Global space | Select a space where your page will be created. Even if you have already enabled the target project space above, you need to select a global space as fallback. This is where the page will appear in case there is no target space available in a particular project targeted by your JQL filter. |
|
| Global space: Parent Page | From PagePrinter version 1.3, it is possible to set a parent page for the global space only. Enabling this switch will open up the next option where you can select a page from the global space chosen above. Global space: If a parent page is set, the user may not change it but must create their page there. Target project space: This is not available for the target project space since that option is dependent on the Jira project. Use this option for configurations used by the Issue to Page Create Space post function. |
|
| Select parent page | Select the parent page. |
|


Click the Save button to save your settings.
Activating your new configuration
Return to the Page Configuration Tab and locate the configuration in the overview.
Release the new page configuration to your users by setting its status toggle to On.

The Health Check button
Version 2.3 introduces the Health Check button.
When clicked, Issue to Page will test all Page and Page Content Configurations and verify, if the referenced Confluence data still exists, such as:
- Confluence spaces
- Confluence templates, blueprints and parent pages
If the pages or templates can no longer be found by their IDs, Issue to Page will query Confluence to find pages or templates with similar titles within the selected spaces
If none are found, the configurations will be marked with Status ERROR and/or deactivated. They will then need to be manually adjusted before they can be used again.
You can find the Health Check button in the upper right corner of the global configuration overview, next to "Add Configuration".
